SET-UP INSTRUCTIONS
When spring arrives, it's time to pull out your UV system and get it ready for the summer pool season. Below is a checklist that will help in getting the most out of your system.
- If your UV system is still installed on your pool equipment, shut down circulation pumps and unplug your UV system before servicing. Allow the lamp to cool for 30 minutes.
- Visually inspect the outside of the unit for any cracks or missing parts.
- Remove the electrical bonnet and visually inspect for any damaged parts or missing parts.
- Unplug the UV lamp by grasping the 4-pin connector (attached to the ballast wires), and slowly pull the UV lamp out of the tube (by grasping the bulb on the white ceramic prong end). Check that the bulb cushion and o-rings (between the lamp and the tube) are still on the bulb. Carefully place the removed bulb in a safe location while cleaning the tube.
- Using a crescent/socket wrench, remove the black plastic acorn nut holding the tube into the black plastic mounting gland. There is a rubber sealing gasket around the tube (or inside the acorn nut) that seals the tube to the mounting gland. Set the gasket aside to reseal the tube when you reinstall the tube after cleaning.
- Grasp the tube and pull straight up, and inspect the tube for cracks. Broken/cracked tubes should be replaced, as they will allow water to enter the dry electrical chamber and attack the electrical components of the unit, which will cause them to fail and need to be replaced.
- The tube exterior can be cleaned using acid or spirit vinegar or muriatic acid with weak concentration (4 parts water to 1 part acid). Do not use abrasive cleaners on the tube. Change the tube if necessary.
- Seat the tube carefully into the receptor at the bottom of the wet chamber (it will not go all the way down into the wet chamber unless the rounded end of the tube is seated in the receptor at the bottom of the wet chamber). Take a new sealing gasket (angled seal) and place it on the end of the tube (angle downwards). A new sealing gasket should be should used on every lamp change.
- Install and tighten the black plastic mounting gland. Do not over tighten it, and be careful not to cross thread the plastic nut.
- Seat the bulb end cushion on the end of the bulb (the end that goes down into the tube first) and place the two o-rings around the top white porcelain bulb end cap (where the electrical pins are located). Slowly lower the bulb down into the tube.
- Without forcing, plug the UV lamp to the 4-pin connector (attached to the ballast wires).
- Reinstall the electrical bonnet and plug in the UV system. Turn on the circulation pump (lamp will not come on without water pressure). Verify that the bulb is lit by viewing the glow of the bulb through the clear plastic union.
Let us do the heavy lifting.
Related Guides & Resources
How to Treat and Prevent Metals and Staining
How to treat and prevent metals and staining Metals and Staining in a Pool Metals can be introduced to the water through foreign object or equipment such as:Copper piping and fittings,Heat exchanger,Using Copper Sulphate and other copper-based algaecides, Source water.Metals in pool water may cause staining to the liner, fiberglass, or concrete as well as an…
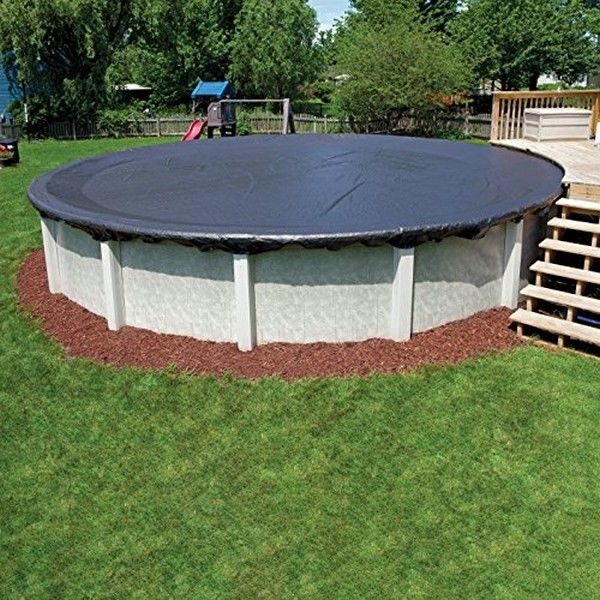
Above Ground Pool Closing Instructions
How to close your above ground pool Pool Closing Steps 1 One week prior to closing, bring a pool water sample to the store so your pool can be properly balanced. It is natural for sitting water to become acidic on its own, so balancing the water is very important prior to closing your pool.…
The Benefits of Borate to Treat Your Pool
Why Your Should Use Borate In Your Pool What is Borate? Borate prevents pH drifting, which results in calcium scaling, metal stains, cloudy water, algae, and hard pool water. When you use borate, the water will remain clear for a long period since chloramine (or combined chlorine) does not form quickly as compared to a…
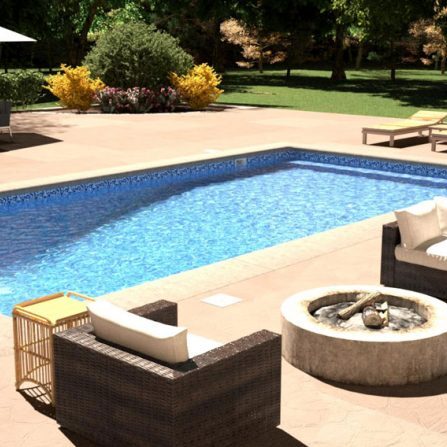
How to Reduce Phosphates in Your Pool
How to Reduce Pool Phosphates What are phosphates? Phosphates are food for algae. Although they are present in all water, once they reach a certain level they can cause issues in your pool. Phosphates can consume chlorine causing a consistently low level in your pool. When you have an extremely low chlorine reading, your pool…
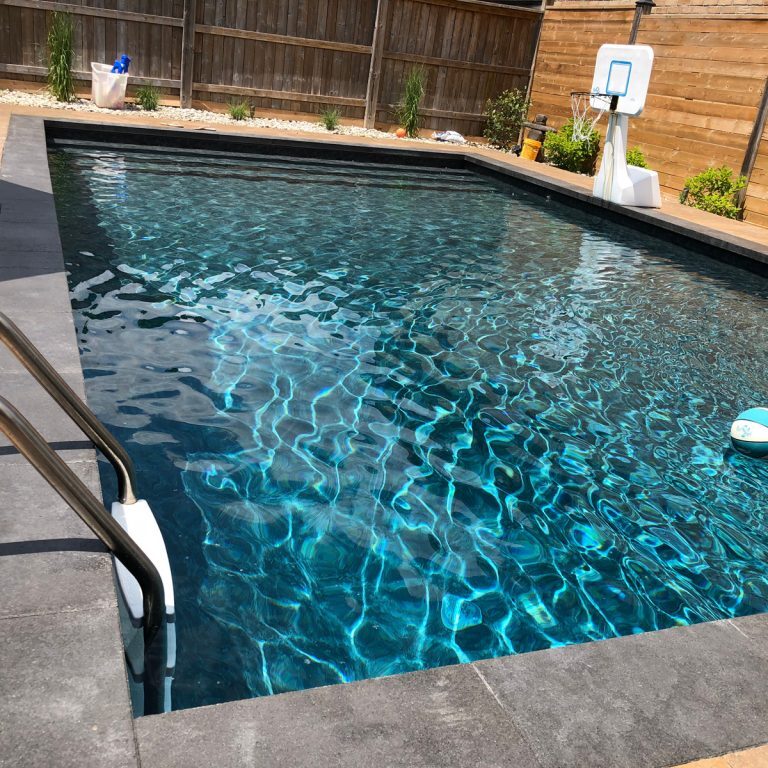
Spring Set-up for Pool UV Systems
How To Open Your Pool’s UV System SET-UP INSTRUCTIONS When spring arrives, it’s time to pull out your UV system and get it ready for the summer pool season. Below is a checklist that will help in getting the most out of your system. If your UV system is still installed on your pool equipment,…
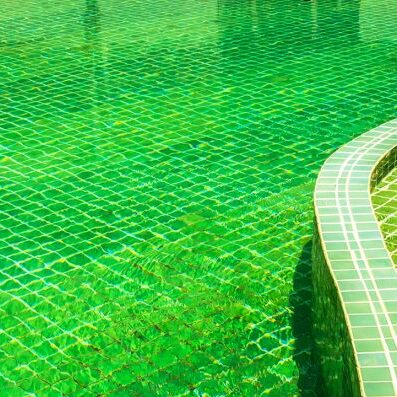
How to Treat Pool Algae
How to Treat and Prevent Algae How to Treat and Prevent Algae during Spring Opening Warning: when following these steps, DO NOT use your automatic vacuum as there is no option of vacuuming on waste/drain. Bring a pool water sample into Buds for water balance assistance. Remove large organic debris from the bottom of the…
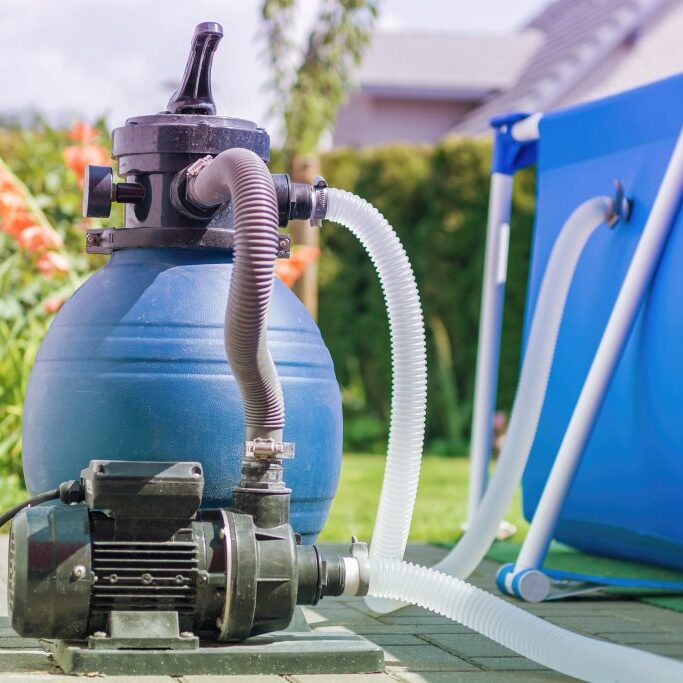
How to Change & Clean the Filter Media
How to Clean & Change a sand filter How to Change the Filter Media Sand should be changed in the filter every 3-5 years. However, if the sand is not cleaned once per season the sand may need to be changed much more often than that. 1 Turn off the pump. 2 Take the drain…
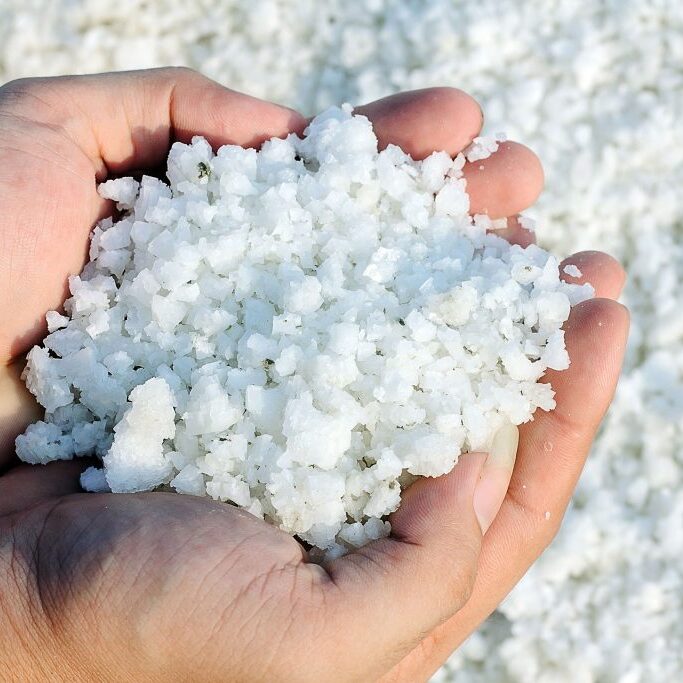
How to Clean a Pool Salt Cell
How to Clean a Salt Cell It is important to maintain a clean salt cell so chlorine can be continuously produced. Salt cells that have a lot of scale or calcium build up cannot effectively produce sanitizer and often create flow issues within the pool system. You should check your salt cell weekly to ensure…
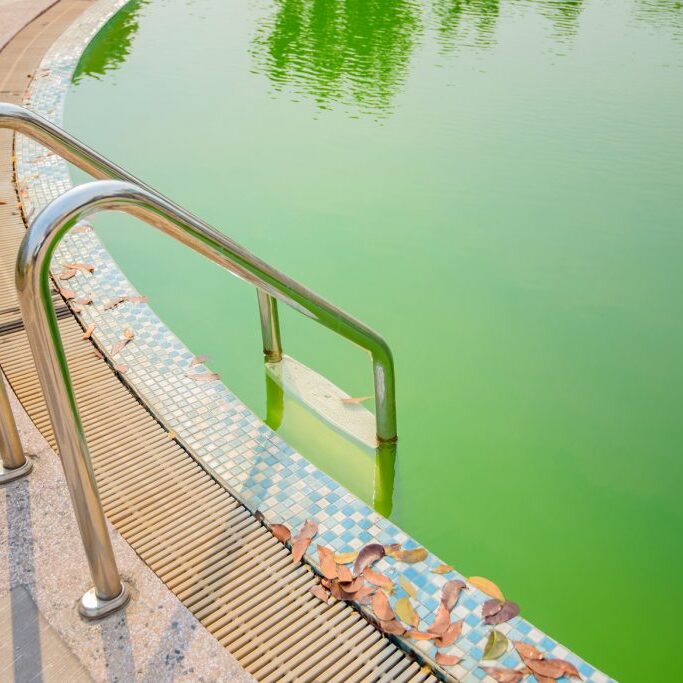
How to Treat and Prevent Cloudy or Foggy Pool Water
How to Treat Extremely Cloudy or Foggy Water How to Treat Extremely Cloudy or Foggy Water Bring a pool water sample into Buds Spas and Pools for water balance analysis. Adjust pH and/or chlorine levels as recommended by the water lab. Follow Option A, B or C depending on the level of clarity in the…
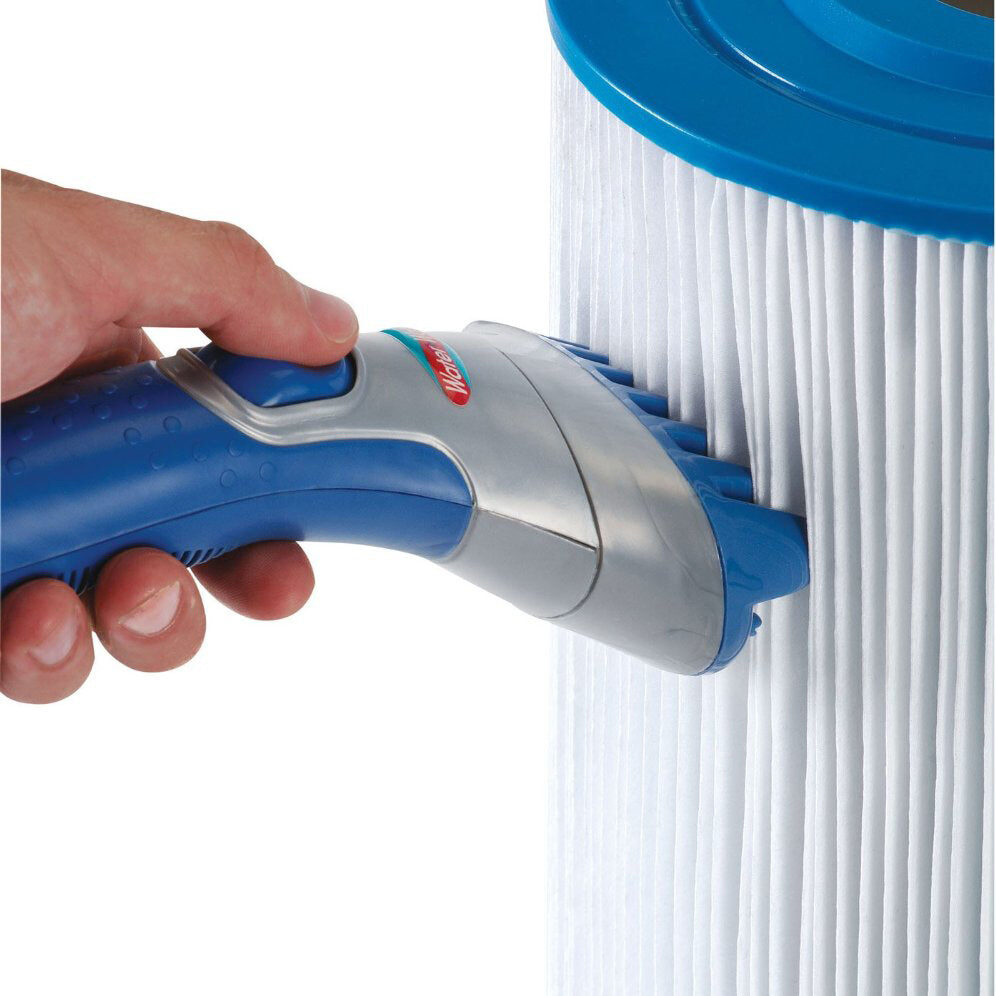
Pool Filter Cartridge Cleaning Instructions
How To Clean A Pool Filter Cartridge When should a cartridge element be cleaned? For hot tubs and swim spas, establish a routine cartridge cleaning schedule based on the amount of spa usage. This should include rinsing the cartridge weekly (or more frequently with heavy use), as well as using Rapid Action Filter Cleanse every…
Maintenance for Saltwater Pools
Saltwater pool maintenance Helpful Tips to Maintain Your Pool New pool or new liner customers: Please bring in a water sample to Bud’s Spas and Pools before adding any chemicals and/or before entering your pool for the first time. Filtration To maintain proper filtration the pump should be operating 24/7. If your pump is on…
Maintenance for Non-Saltwater Pools
Non-saltwater pool maintenance HELPFUL TIPS TO KEEP IN MIND WHEN MAINTAINING YOUR POOL NEW POOL OR NEW LINER CUSTOMERS:PLEASE BRING IN A WATER SAMPLE (IN THE SAMPLE BOTTLE PROVIDED) TO BUDS SPAS AND POOLS BEFORE ADDING ANY CHEMICALS AND/OR BEFORE ENTERING YOUR POOL FOR THE FIRST TIME. Filtration To maintain proper filtration the pump should…
Inground Pool Closing Instructions
Pool Closing Instructions Follow these steps to properly close your pool this year 1. One week prior to closing, bring a water sample to the store so your pool can be properly balanced. 2. 48 hours before closing, clean your sand filter with Filter Cleaner. If you have a cartridge filter, it can be cleaned…
Pool Opening Instructions
Pool Opening Instructions Pool Opening Instructions 1. Remove any leaves or debris from the top of your winter cover (this should not go in the pool). 2. Remove the water off your pool cover using a submersible pump. When using a submersible pump, please ensure that the pump is not sitting directly on the pool…
